Top Mistakes to Avoid When Using Silicone Sealant
You've probably used silicone sealant or seen someone use it, right? It's that handy stuff that helps seal joints or gaps in various household and construction tasks. But as simple as it may seem, using silicone sealant comes with its own pitfalls. Let's dive in and explore some of the most common mistakes people make and how to avoid them.
Understanding Silicone Sealant
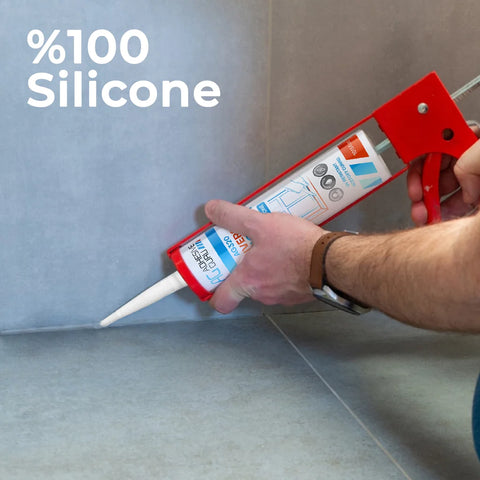
What is it?
Silicone sealant is a versatile, flexible, and waterproof adhesive used primarily for sealing gaps. Made primarily from silicone, this sealant adheres to a variety of surfaces, creating a waterproof bond.
Importance in DIY and Construction
Remember when you noticed a leak in your bathroom, or maybe when you were installing a window? Silicone sealant was probably your hero. It's an essential component in DIY tasks and professional construction because of its durability, flexibility, and waterproof properties.
Common Mistakes & How to Avoid Them
Not Cleaning the Surface
Before applying silicone sealant, always ensure the surface is pristine. Just imagine trying to stick tape onto a dusty wall; it won't hold for long. In the same way, a dirty surface can significantly weaken the bond of a sealant. Dust, debris, and even oils can be barriers preventing effective adhesion. To get the most out of your silicone sealant and ensure its longevity, always clean the surface meticulously, making it free from any contaminants.
Using Expired Product
You wouldn't pour expired milk into your morning coffee, would you? Similarly, using an expired sealant can have disastrous results. Just as milk loses its freshness past its date, a sealant can lose its efficacy. An expired sealant might not adhere properly, leading to poor durability and, in some cases, complete detachment. Before embarking on your sealing project, take a moment to check the expiry date. It's a small step that can save you from future headaches.
Over-Application of the Sealant
While it might be tempting to think that more sealant means a stronger bond, that's not always the case. Think of it like icing a cake; too much icing can make it too sweet and even messy. Similarly, applying too much sealant can lead to wastage and an unsightly finish. The key is to use just enough to fill the gap or joint effectively. Excessive amounts might not even cure properly, leaving you with a soft or sticky mess.
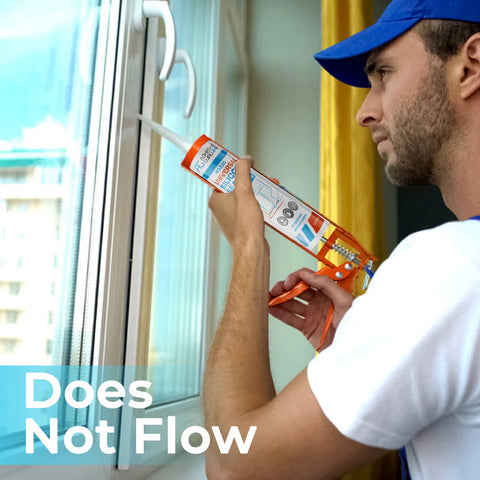
Not Cutting the Nozzle Correctly
It might seem minor, but the way you cut the nozzle of your sealant tube can greatly impact its application. Ever tried pouring juice from a carton that wasn't opened right? It's messy and inefficient. Cutting the nozzle at the wrong angle or size can result in uneven flow, making your sealing job look amateurish. To ensure a smooth application, always cut the nozzle at the recommended angle and diameter.
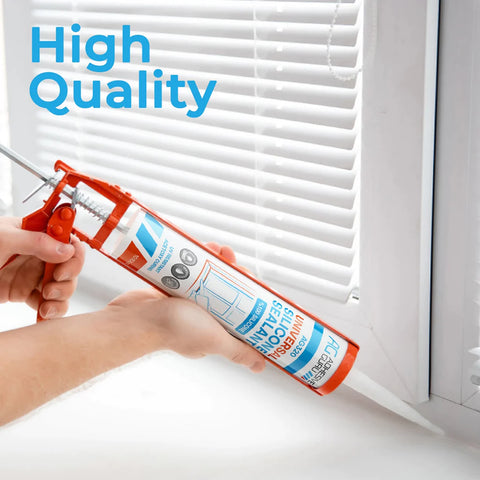
Not Using a Sealant Gun
Imagine attempting to slurp soup with a fork – it's not the most effective method. Similarly, trying to apply sealant without a gun can be frustrating and wasteful. A sealant gun provides consistent pressure, ensuring an even flow of the product. This not only makes the application process smoother but also ensures that you use every bit of the sealant in the tube. For professionals and DIY enthusiasts alike, a sealant gun is a must-have tool.
Skimping on Surface Preparation
Preparing a surface for sealing is as crucial as the application itself. Remember the disappointment when you painted a wall without priming it first? The results were likely uneven and unattractive. The same principle applies to sealing. If a surface isn't prepped correctly – be it by cleaning or priming – the sealant might not adhere properly. To achieve the best results, always devote time to thorough surface preparation.
Not Waiting for the Sealant to Dry
In the world of sealing, patience truly is a virtue. Rushing a project by not allowing the sealant to fully dry can compromise its integrity. It's similar to trying to walk on freshly mopped floors; you'll likely slip or leave marks. Similarly, touching or putting pressure on wet sealant can cause it to smear or not adhere properly. Always check the recommended drying times and, when in doubt, give it a bit longer. Your patience will pay off with a flawless finish.
Tips for Correct Application
Temperature and Humidity Considerations
Ever noticed how bread bakes differently on humid days? Similarly, sealant application is affected by temperature and humidity. Always check the product recommendations for optimal conditions.
The Right Tools
Caulking Gun
Investing in a good caulking gun is like having the right knife in the kitchen—it makes the job easier and more precise.
Silicone Spatula
Just as you'd smooth out icing on a cake, a silicone spatula helps smooth out the applied sealant for a clean finish.
Conclusion
Silicone sealant is a marvel in the DIY and construction world. But, as with all tools, it requires knowledge and care in its application. By avoiding these common mistakes and following the tips provided, you can ensure a smooth, effective, and long-lasting sealant job. And remember, it's not just about doing the job but doing it well.
FAQs
- How long does it take for silicone sealant to dry?
- Typically, it takes about 24 hours, but it can vary based on humidity and the product used.
- Can I paint over silicone sealant?
- Generally, silicone sealant is not paintable. However, there are specific paintable silicone sealants available.
- How often should I replace silicone sealant?
- It's recommended to inspect annually and replace as needed, usually every 2-5 years depending on wear and conditions.
- Can I use silicone sealant outdoors?
- Yes, many silicone sealants are formulated for both indoor and outdoor use. Ensure you check the product specifications.
- What's the difference between silicone sealant and caulk?
- While both are used for sealing, silicone sealant is more flexible and resistant to harsh conditions, while caulk can be painted and is typically used for indoor projects.
Leave a comment